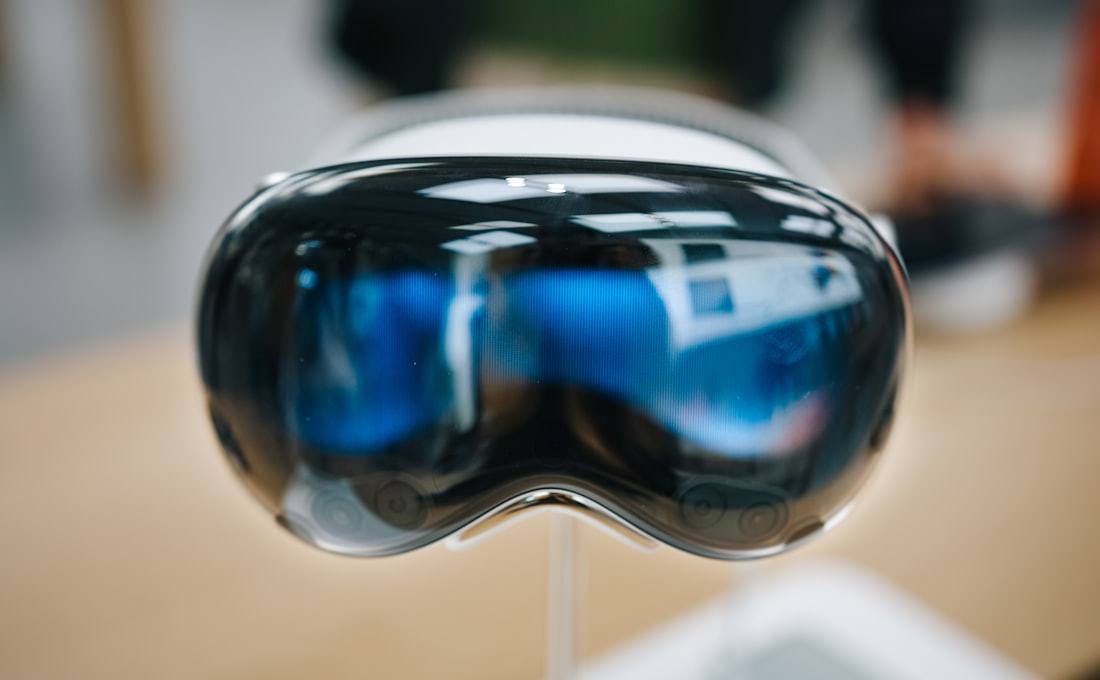
Smart-Helmet HUD Optics: Packaging, Calibration, and Situational Awareness
This general engineering note is informed by PAO engineering leadership's prior-role helmet-display experience and documented technical records. It does not disclose confidential product specifications, identify an individual, or claim a commercial outcome.
A smart-helmet display operates in a harder environment than a stationary heads-up display. It moves with the user, sits inside a constrained curved shell, sees large changes in ambient light, and must preserve useful imagery despite fit variation, vibration, heat, and limited adjustment.
When cameras are part of the situational-awareness function, the system has a second challenge: the image presented to the eye must maintain a meaningful relationship with the field around the helmet. Camera optics, image processing, display optics, and calibration are therefore one engineering chain.
Define the perception task first
The optical requirement should begin with what the wearer needs to perceive and when. A rear-view video feed, navigation cue, speed indicator, warning symbol, and conformal overlay place different demands on field, latency, image scale, registration, brightness, and attention.
Questions that change the architecture include:
- Is imagery informational or spatially registered to the world?
- Which parts of the external field must a camera capture?
- Where should the displayed image appear relative to the normal line of sight?
- What latency and update behavior are acceptable for the task?
- Must the image remain visible in daylight, at night, or both?
- How much variation in eye position and helmet fit must be supported?
A display that is bright and sharp can still be ineffective if it occupies the wrong visual angle, clips during normal fit variation, or presents a camera view with misleading scale.
Engineer the camera-to-eye chain
For a camera-assisted helmet, field of view should be traced from the environment through the camera lens and sensor, image crop and processing, display format, projection optics, and the wearer's eye. Each stage can alter scale, orientation, latency, distortion, and visible coverage.
Camera placement determines what is occluded by the helmet or rider. Lens distortion and digital correction affect edge geometry. The display path determines image distance, apparent size, and where the image lies within the wearer's natural gaze. Calibration must connect these coordinate systems in a way that remains stable after assembly and use.
If the displayed image supports situational judgment, calibration error is not merely cosmetic. A useful error budget includes camera mounting variation, lens distortion residual, sensor crop, display mapping, projector alignment, combiner position, helmet fit, and mechanical drift.
Package around a variable human interface
The wearer's eye does not occupy one fixed coordinate. Helmet size, padding compression, head shape, strap tension, and how the helmet settles can move the eye relative to the display. Eyebox and eye relief should therefore be checked over a representative fit envelope.
The package also needs to manage:
- optical path clearance inside a curved shell;
- mass and center-of-gravity effects;
- combiner or visor geometry;
- sealing, dust, moisture, and cleaning;
- heat from displays, electronics, and the environment;
- vibration and impact retention;
- adjustment, service, and cable routing;
- stray light and internal reflections.
Mechanical retention must preserve alignment without loading optical components in a way that changes surface figure, wedge, or polarization behavior.
Brightness is only one part of visibility
Outdoor use creates a difficult contrast problem. Increasing source power may improve luminance, but it also affects thermal load, battery life, eye safety, and package size. Combiner transmission, coatings, polarization, visor tint, internal reflections, and stray light all influence perceived contrast.
Night operation introduces a different risk: excessive brightness can obscure the external scene or force the eye to adapt to the display. The control strategy should therefore cover dimming range, transitions, image content, and failure behavior, not just maximum output.
Calibration must be designed into the hardware
Calibration should have physical observability. The team needs to know which features or datums can be measured, how camera and display coordinates are related, and what can be adjusted before the assembly is sealed.
A prototype plan can include camera intrinsic calibration, camera-to-helmet alignment, display distortion and field mapping, eyebox characterization, boresight checks, thermal drift, vibration retention, and repeatability after donning and doffing. Human evaluation can assess usability, but bench measurements are still needed to isolate optical and mechanical causes.
The calibration file, hardware revision, fixture, and test condition should be traceable. Otherwise a software update or module swap can invalidate the geometric relationship without an obvious mechanical failure.
Build in stages
A lower-risk program separates questions before combining them:
- Demonstrate the required field and image presentation on an adjustable bench.
- Characterize the camera and display paths independently.
- Establish the mechanical datum and adjustment strategy.
- Integrate into a representative helmet package.
- Measure fit sensitivity, ambient-light behavior, thermal drift, and vibration retention.
- Correlate camera-to-display calibration across multiple builds.
- Define supplier fixtures and acceptance criteria for repeatable assembly.
This sequence protects the team from treating every image defect as a lens problem. It also exposes when a nominal optical requirement cannot survive the wearable package.
PAO supports wearable optical systems, automotive and HUD optics, and prototype integration for teams developing camera, display, and sensing hardware.